Showing posts with label variation in line weight. Show all posts

Aug 18, 2022

REFERENCE - All about the LINE

 Line is a mark connecting two points; you can consider a line as a moving point.


Types of line

ACTUAL LINE—The line

IMPLIED LINE—An automatically connected series of unconnected points.

PSYCHIC LINE—The placement of the objects causes the viewer to look in a certain direction.


Categories to describe lines
TYPES OF LINE—the way it moves from beginning to end (straight, curves, angular)
LINE DIRECTION—relationship with the page (horizontal, vertical, diagonals)
LINE QUALITY—how the line is draw and the drawing media (delicate or bold, smooth or broken, thick or thin, regular or changing)
Uses of Line • To define shapes (contour drawing/cross-contour)
• To create texture (evoking our sense of touch)
• To create patterns (repetition)
• To create value (parallel lines “hatching” /intersecting lines “cross-hatching” create various density)
• To convey a mood (linear technique)
• To suggest motion (differences in line weight)

Working with lines • Stop/Start
• Change in directions
• Overlap or intersect
• Change in line weight (thick and thin)
• Closer together, farther apart


Feb 14, 2018

PROJECT 4 - Deconstructing the 4 Elements of Nature - Type/color/Image/compostion


You will create and depict 2 different typographic and image compositions interpreting two of the four classical elements—earth, air, fire and water.

Air is the element of intellect, study, and book learning. It is also the element of youth, creativity, and spontaneity, and of communication and travel.
Fire is the element of strength and energy. It is also the element of passion, courage, protection, purification, transformation, destruction, chaos, and sex. 
Water is the element of wisdom, clarity, and common sense. It is also the element of emotion, intuition and divination. 
Earth is the element of stability, order and grounding. It is the element of beginnings and endings.
Or for the above 4... however you interpret this in strong compositions, using harmonious color relations that create visual metaphors. Use your creative problem solving. 

Due Dates (2 Critiques in one week)
MONDAY/WEDNESDAY CLASS: February 19th and 21st
TUESDAY/THURSDAY CLASS:   February 20th and 22nd

Materials
• Bristol 9x12” format - 2 compositions
• glue - rubber cement, glue stick, elmer's glue
• scissors and xacto knives and rulers for straight edges
• tons of good magazine images with color and type!

Process
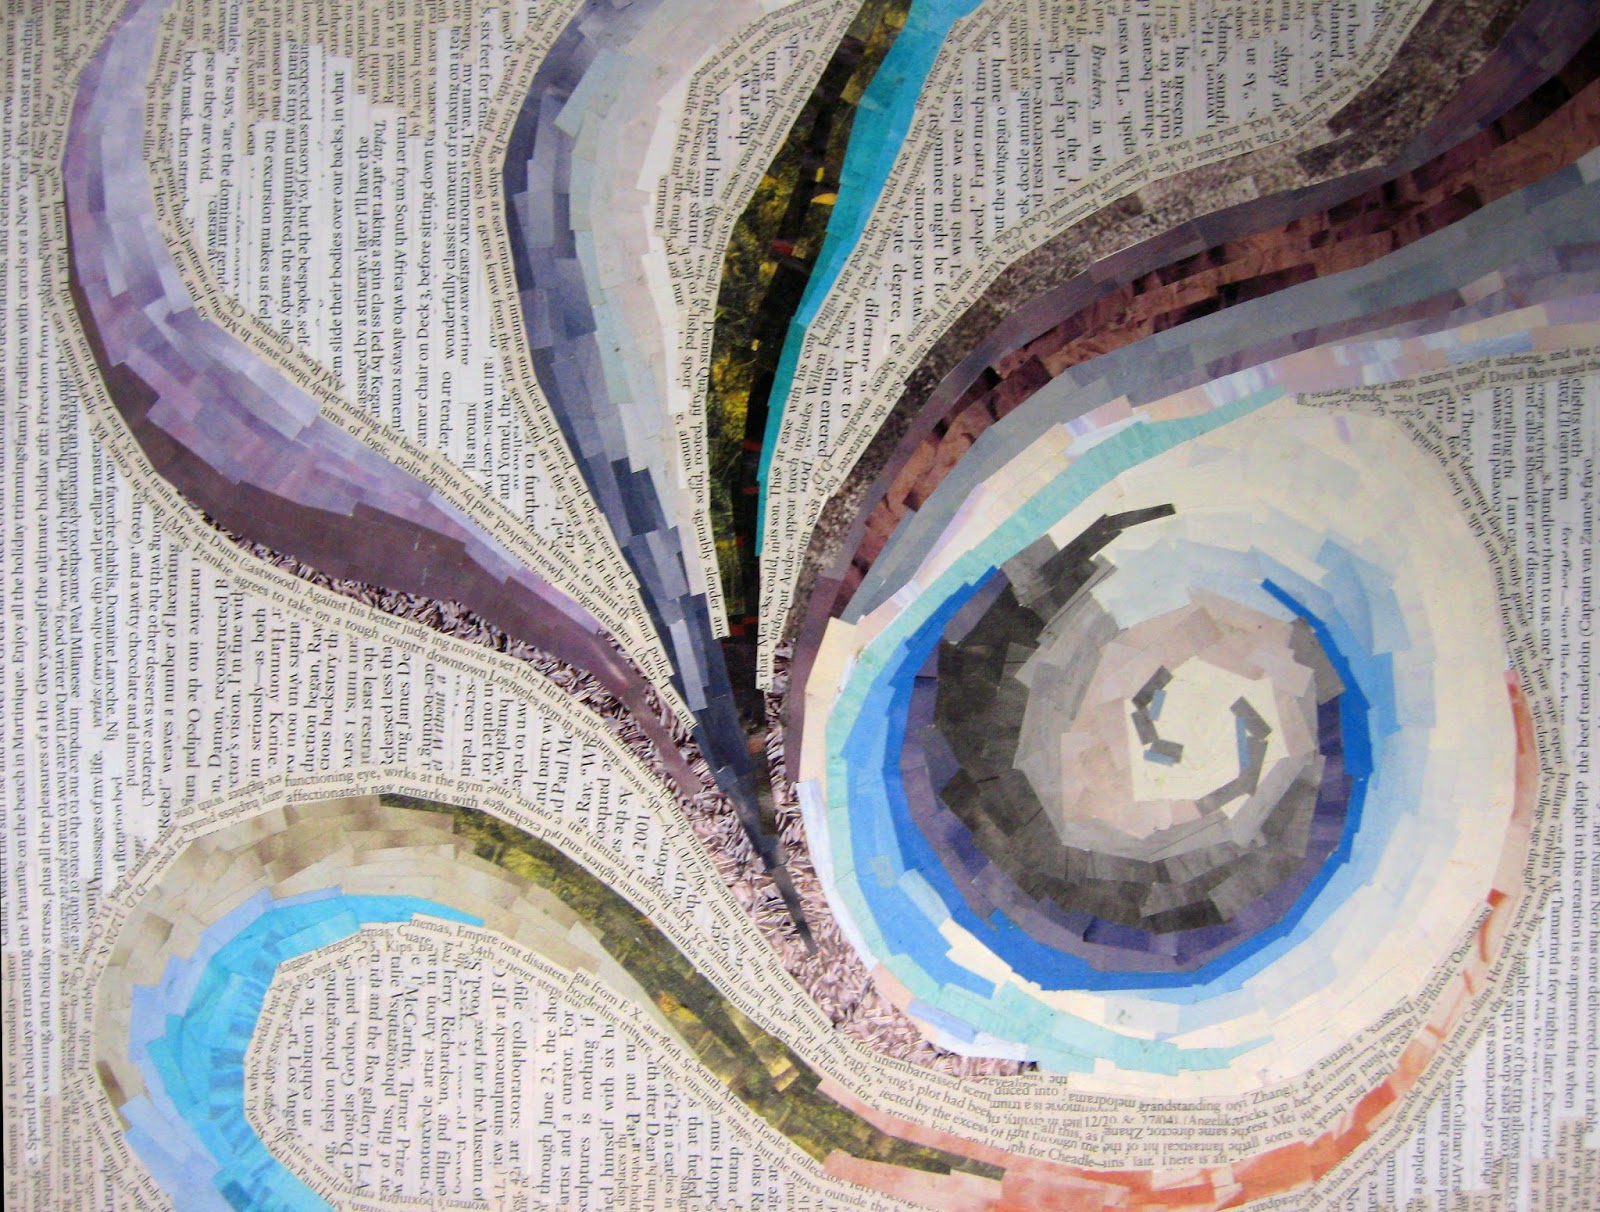
Cut image specimens and type from magazines using conceptual thinking of how you would visually interpret the two elements you have selected. Again, DO NOT look at imagery and type in the literal sense. treat them as shapes, color, texture and reconstruct an original design. Combine interesting letters forms, sub-heads, paragraphes, etc... as you see fit. bold, medium light from different sources be aware of variety, flow, how images are seen as texture and how they both work together seamlessly. think layering, integration, thickness and shapes with images to design an appealing collage that conveys the element chosen. It's important to be sensitive to your color combinations, selections of textures and how they work as a whole aesthetically.

Do not use any representational imagery. you should look for color relations, texture, pattern tonal value of the colors. so you must look through the image and consider it for shape and color. Please remember to design your cut outs as well, this has great impact on the aesthetics of the final composition. Be thoughtful about the figure ground relationships, color combinations to create an effective and convincing final product.

Think about different ways to represent your element of choice. How do you see fire, air, water earth? is it agitated, windy, passionate, arid... Is it tropical, desert, forest, is the water agitated, calm, is the air breezy, hurricane, tornado, etc... , what types of lines, shapes, color, composition, alignment... You need to use the scope of color values that exude the type of feeling you want to convey; you can combine type with images/shapes—but remember that these are typographic and image compositions.

Remember to also be very aware of designing your cuts and shapes. this has to be part of the process to achieve your desired results. Excellent craftsmanship. no sloppy edges or cuts!

Use combination of type as imagery as well as textural cut outs that communicate your goal. The result will be 2 (pick 2 out of 4) interesting and appealing compositions.


Oct 14, 2017

PROJECT 05: Self-Portrai/portrait in Grayscale. B/W acrylic paints (refer back to your value scales)

Project Description

Create a 9" x 12" self-portrait or portrait of classmate in B/W Acrylic applying the value scales you just finished. Using black and white acrylic paint create a well executed portrait using a good range of gray scale value system. This is interpretive, abstracted, aesthetics are important and the essence of that person. have fun. be expressive.

Have fun with expressions, angles, framing to create a unique image to draw out for your 4 thumbnail sketches and keep in mind, you will select one of the four images you worked through as your final composition. be creative. Be aware of your figure (subject) ground (background). both important Both areas cannot be busy. subjects dominate.

Practice using a value scale with paint, graphite, or pen/marker using clean cross hatch or hatch lines. Use the value scale you created as a reference to achieve at least 7 different values in your composition. 

There will be no blending/shading of paint with this assignment, instead break the image down into shapes that represent the changes in value. You will be creating solid shapes (blocking out fields) each value in the gray value scales. there will be 9 value distinctions in the final compositions. 

Be very aware of your placement, layout, figure ground, cropping, interesting angles and vantage points. Be creative in how you create your self portrait. Use lighting to create more dramatic shadows, mid tones and highlights. be aware of your light source and how it plays with the details on your face when mapping out the value fields. 


Value Scale Technique - Training Videos

Important for creatig value scale in pencil: 
https://www.youtube.com/watch?v=0QD0CUfL_pQ


https://www.youtube.com/watch?v=WowABJEpm1c

https://www.youtube.com/watch?v=B-jkKJmSW_8

Class Schedule

Homework Due in class on October 16 / October 17
1. Create four  distinct/different comprehensive sketches showing unique options for your portrait. Use cropping, directional light source, and framal reference, to create the most dynamic and interesting composition possible. be aware of focal areas. If you need to do more sketches to resolve your piece, you will have to do more than just four. 

Do not limit yourself if you are still not satisfied with the direction of your portrait. 

2. Have your final composition drawn out on 9" x 12" bristol board, and map and block out all the fields values ranging from black (#7) to white (#1). 

Note: You will receive a full project grade on your homework meaning your 4 different sketches and studies. This will be reviewed and graded at the beginning of class.

Class work-time (October  18 / October 19)
You will have the full class time to select and work on creating your final portrait. This assignment will be worked on  during class time. Be sure to use your studio time well. and be productive. you will also ALWAYS receive a class grade based on your productivity in each class. Use your time wisely. everything is worked into your final project grade and class grade.

Note: Assignments will be collected and graded at end of class.

Critique (Oct 23  / Oct 24)
Please hang work and be prepared to start critique at beginning of class.  This will be a quick critique. We will start on the next project for the second half of the class.

Rubric

You will be assessed on the overall composition (dynamic and interesting), craftsmanship (even surface, defined edges with good tonal value fields using value as highlights, mid tones and shadows, clean edges on paper, no marks/dirt on paper), and range of values, good contrast, focal areas. Use solid even lights mediums darks shades on each field that you block out. 

Student Examples


Aug 29, 2017

REFERENCE – ALL ABOUT THE LINES

Line is a mark connecting two points; you can consider a line as a moving point.

Types of line

ACTUAL LINE—The line

IMPLIED LINE—An automatically connected series of unconnected points.

PSYCHIC LINE—The placement of the objects causes the viewer to look in a certain direction.


Categories to describe lines
TYPES OF LINE—the way it moves from beginning to end (straight, curves, angular)
LINE DIRECTION—relationship with the page (horizontal, vertical, diagonals)
LINE QUALITY—how the line is draw and the drawing media (delicate or bold, smooth or broken, thick or thin, regular or changing)
Uses of Line • To define shapes (contour drawing/cross-contour)
• To create texture (evoking our sense of touch)
• To create patterns (repetition)
• To create value (parallel lines “hatching” /intersecting lines “cross-hatching” create various density)
• To convey a mood (linear technique)
• To suggest motion (differences in line weight)

Working with lines • Stop/Start
• Change in directions
• Overlap or intersect
• Change in line weight (thick and thin)
• Closer together, farther apart


Sep 13, 2016

PROJECT 05: Self-Portrait in Greyscale. Using B/W Acrylic Paints (refer back to your value scales)

Project Description

Create a 9" x 12" self-portrait or portrait of classmate in B/W Acrylic applying the value scales you just finished. You may use one or a combination of a couple of tools to create a well executed portrait using a good range of gray scale value system.

Have fun with expressions, angles, framing to create a unique image to draw out for your 4 thumbnail sketches and keep in mind, you will select one of the four images you worked through as your final composition. be creative. 

Practice using a value scale in graphite, or pen/marker using clean cross hatch or hatch lines. Use the value scale you created as a reference to achieve 9 different values in your composition. 

There will be no blending/shading of paint with this assignment, instead break the image down into shapes that represent the changes in value. You will be creating solid shapes (blocking out fields) each value in the gray value scales. there will be 9 value distinctions in the final compositions. 

Be very aware of your placement, layout, figure ground, cropping, interesting angles and vantage points. Be creative in how you create your self portrait. Use lighting to create more dramatic shadows, mid tones and highlights. be aware of your light source and how it plays with the details on your face when mapping out the value fields. 


Value Scale Technique - Training Videos

Important for creatig value scale in pencil: 
https://www.youtube.com/watch?v=0QD0CUfL_pQ


https://www.youtube.com/watch?v=WowABJEpm1c

https://www.youtube.com/watch?v=B-jkKJmSW_8

Class Schedule

Homework Due in class on October 16 / October 17
1. Create four  distinct/different comprehensive sketches showing unique options for your portrait. Use cropping, directional light source, and framal reference, to create the most dynamic and interesting composition possible. If you need to do more sketches to resolve your piece, you will have to do more than just four. 

Do not limit yourself if you are still not satisfied with the direction of your portrait. 

2. Have your final composition drawn out on 9" x 12" bristol board, and map and block out all the fields values ranging from black (#9) to white (#1). 

Note: You will receive a full project grade on your homework meaning your 4 different sketches and studies. This will be reviewed and graded at the beginning of class.

Class work-time (October  18 / October 19)
You will have the full class time to select and work on creating your final portrait. This assignment will be worked on  during class time. Be sure to use your studio time well. and be productive. you will also ALWAYS receive a class grade based on your productivity in each class. Use your time wisely. everything is worked into your final project grade and class grade.

Note: Assignments will be collected and graded at end of class.

Critique (Oct 23  / Oct 24)
Please hang work and be prepared to start critique at beginning of class.  This will be a quick critique. We will start on the next project for the second half of the class.

Rubric

You will be assessed on the overall composition (dynamic and interesting), craftsmanship (even  surface with good tonal value fields using value as highlights, mid tones and shadows, clean edges on paper, no marks/dirt on paper), and range of value (full range of values from black to white- with 9 steps). Use continuous even lights mediums darks shades on each field that you black out. 

Student Examples


Aug 30, 2016

REFERENCE - All about the LINE

Line is a mark connecting two points; you can consider a line as a moving point.

Types of line

ACTUAL LINE—The line

IMPLIED LINE—An automatically connected series of unconnected points.

PSYCHIC LINE—The placement of the objects causes the viewer to look in a certain direction.


Categories to describe lines
TYPES OF LINE—the way it moves from beginning to end (straight, curves, angular)
LINE DIRECTION—relationship with the page (horizontal, vertical, diagonals)
LINE QUALITY—how the line is draw and the drawing media (delicate or bold, smooth or broken, thick or thin, regular or changing)
Uses of Line • To define shapes (contour drawing/cross-contour)
• To create texture (evoking our sense of touch)
• To create patterns (repetition)
• To create value (parallel lines “hatching” /intersecting lines “cross-hatching” create various density)
• To convey a mood (linear technique)
• To suggest motion (differences in line weight)

Working with lines • Stop/Start
• Change in directions
• Overlap or intersect
• Change in line weight (thick and thin)
• Closer together, farther apart